Surface Mount Soldering 101
by Jared Julien
Surface mount soldering is looked upon by many hobbyists as taboo in some respects. Many folks don’t like it and some of their reasoning is quite valid. I put to rest some of the myths and mysteries surrounding surface mount parts and explain a little about my approach to working with these sometimes tiny devices.
The biggest downside to surface mount devices is that you can’t, without considerable effort, breadboard them very easily. This provides a barrier to entry when working with new devices that many aren’t willing to cross. On the flip side of the coin, many newer devices are not available in a breadboard-friendly format such as DIP packages which forces my hand when I create projects.
Truth be told, I circumvent this issue by using some of the pre-fabbed modules that companies like SparkFun, Adafruit, Parallax, Pololu and the like provide. Once I have a mock up circuit functioning I use their designs (viva la open source!) to assemble a schematic and layout a PCB. Next I turn to a fab service such as OSHPark or DirtyPCBs to have boards made (I have etched my own at home but that’s a topic for another post).
The problem with one-offs, as most of my projects are, is that it’s not practical to monkey with solder paste and stencils and reflow ovens. I find it’s easier to just pull out the soldering iron and the tweezers and spend a little time putting them together by hand. If you’ve got any reasonable quantity of boards to make (i.e. more than a few but less than hundreds) then I highly recommend going with a stencil and getting yourself a reflow oven or a skillet.
Supplies and Equipment
Required Equipment
The following items are a must have for working with SMD parts.
- Soldering Iron
- Solder
- Solder braid/wick
- Tweezers
Soldering Iron
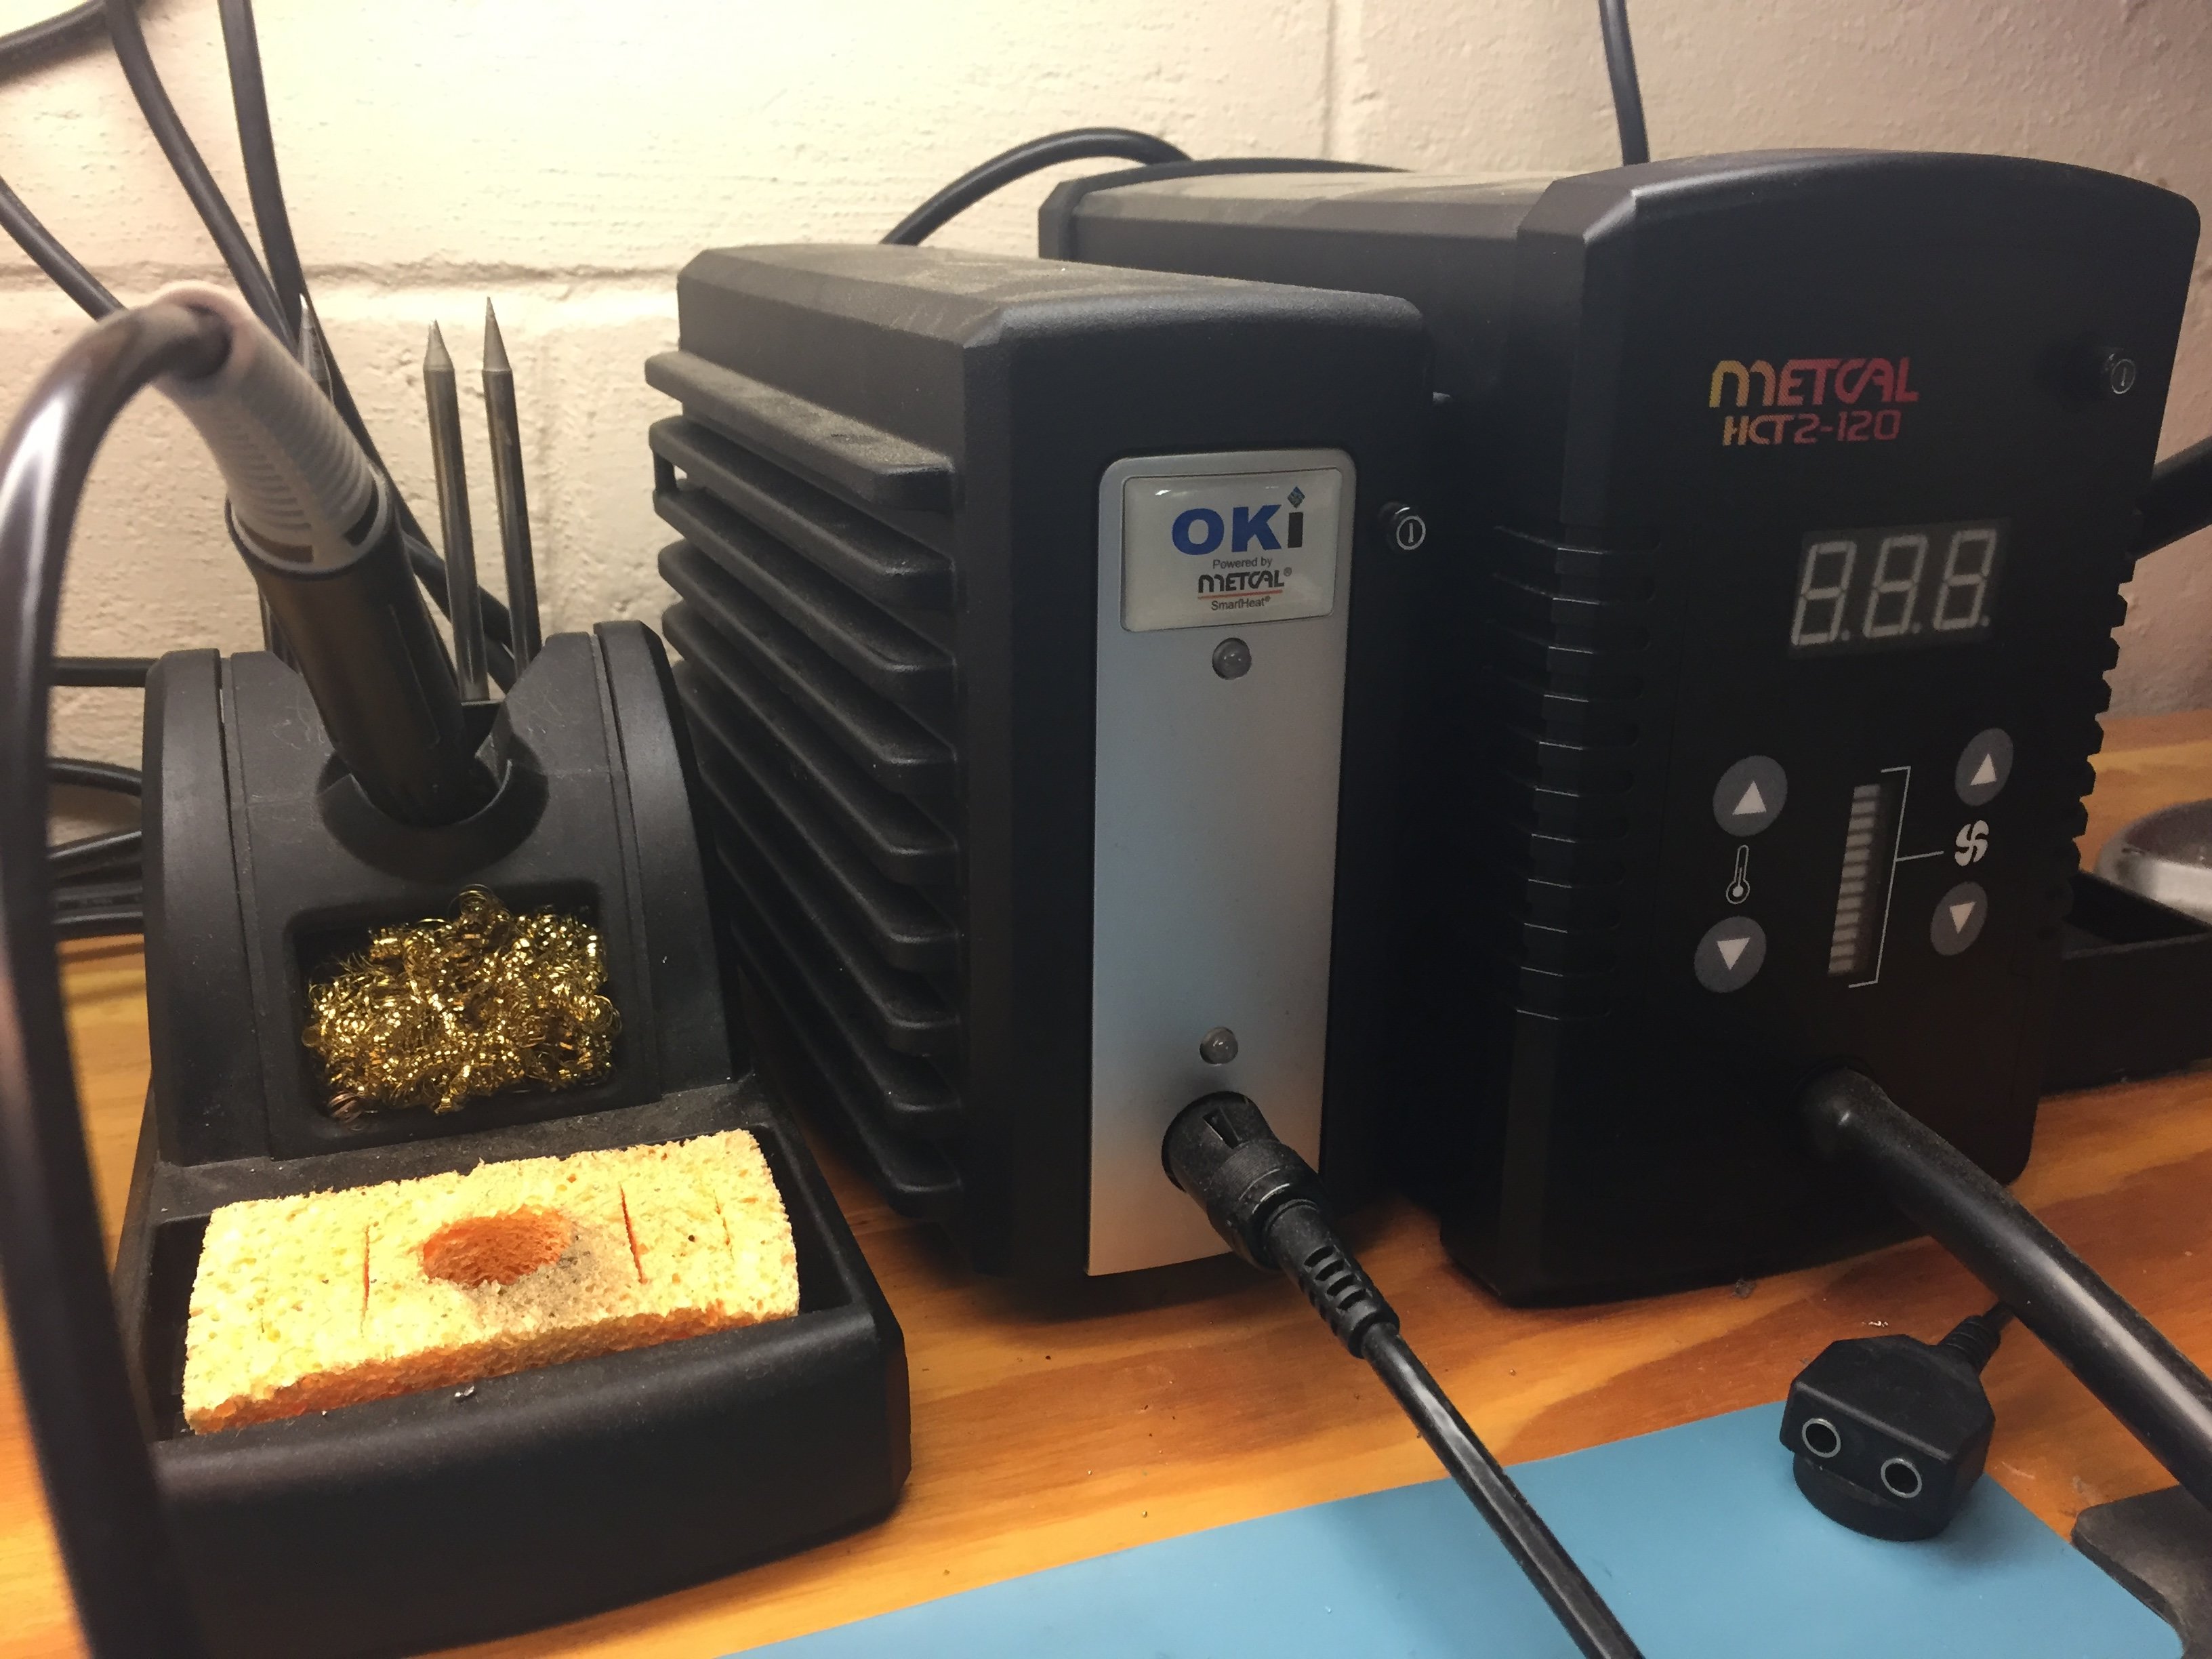
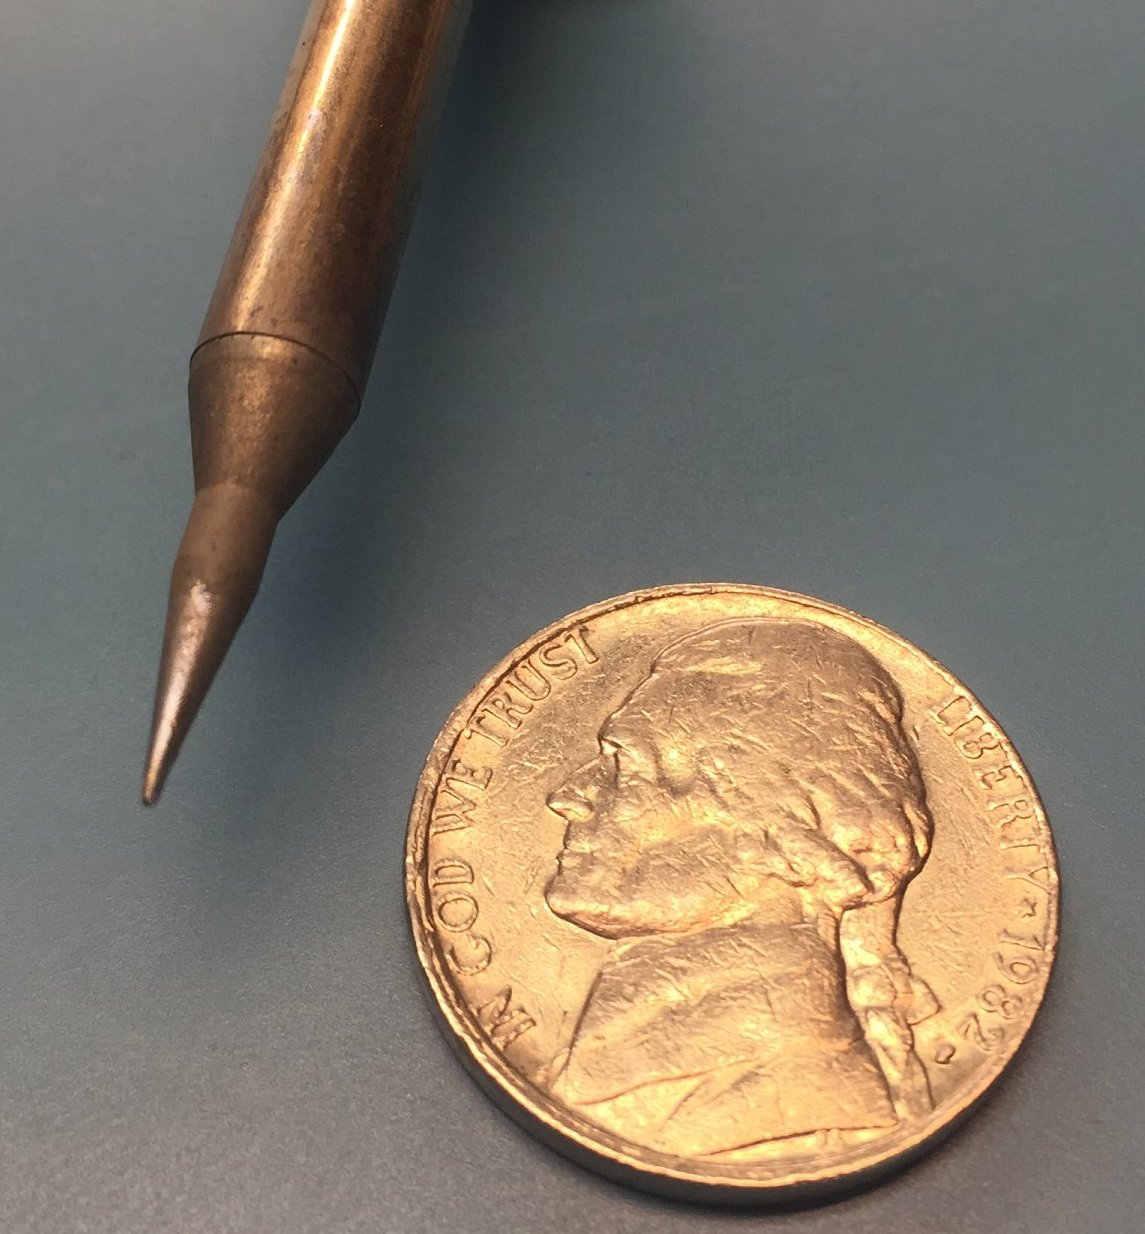
I use an OK Industries/Metcal soldering iron with an ultra-fine tip for most SMD work. The nickel in the image is for reference regarding the tip. The fine tip is critical for this work. Logic might suggest that the smaller the target part is the smaller the iron must be. Attempting to solder a 144 pin TQFP part with a RadioShack (RIP) special would be like trying to paint a wall with an 8 foot long paint roller. It might work, but it’ll make one heck of a mess. Do yourself a favor and get the right tool for the job.
This (along with all of the other information here) is obviously just my opinion, however, I used the RadioShack special for many years before finally upgrading to a quality iron and I can say without a doubt that it has contributed greatly to the overall quality of my work and simultaneously lowered my level of frustration.
You may notice the Metcal hot air rework station in the picture next to my iron which does come in handy for SMD rework, but it is by no means a requirement. I actually made do without the hot air station for many years and use it less than I envisioned when I “bit the bullet” on the purchase. I would recommend an inexpensive heat gun to anyone who isn’t making money directly in return for their work.
Solder
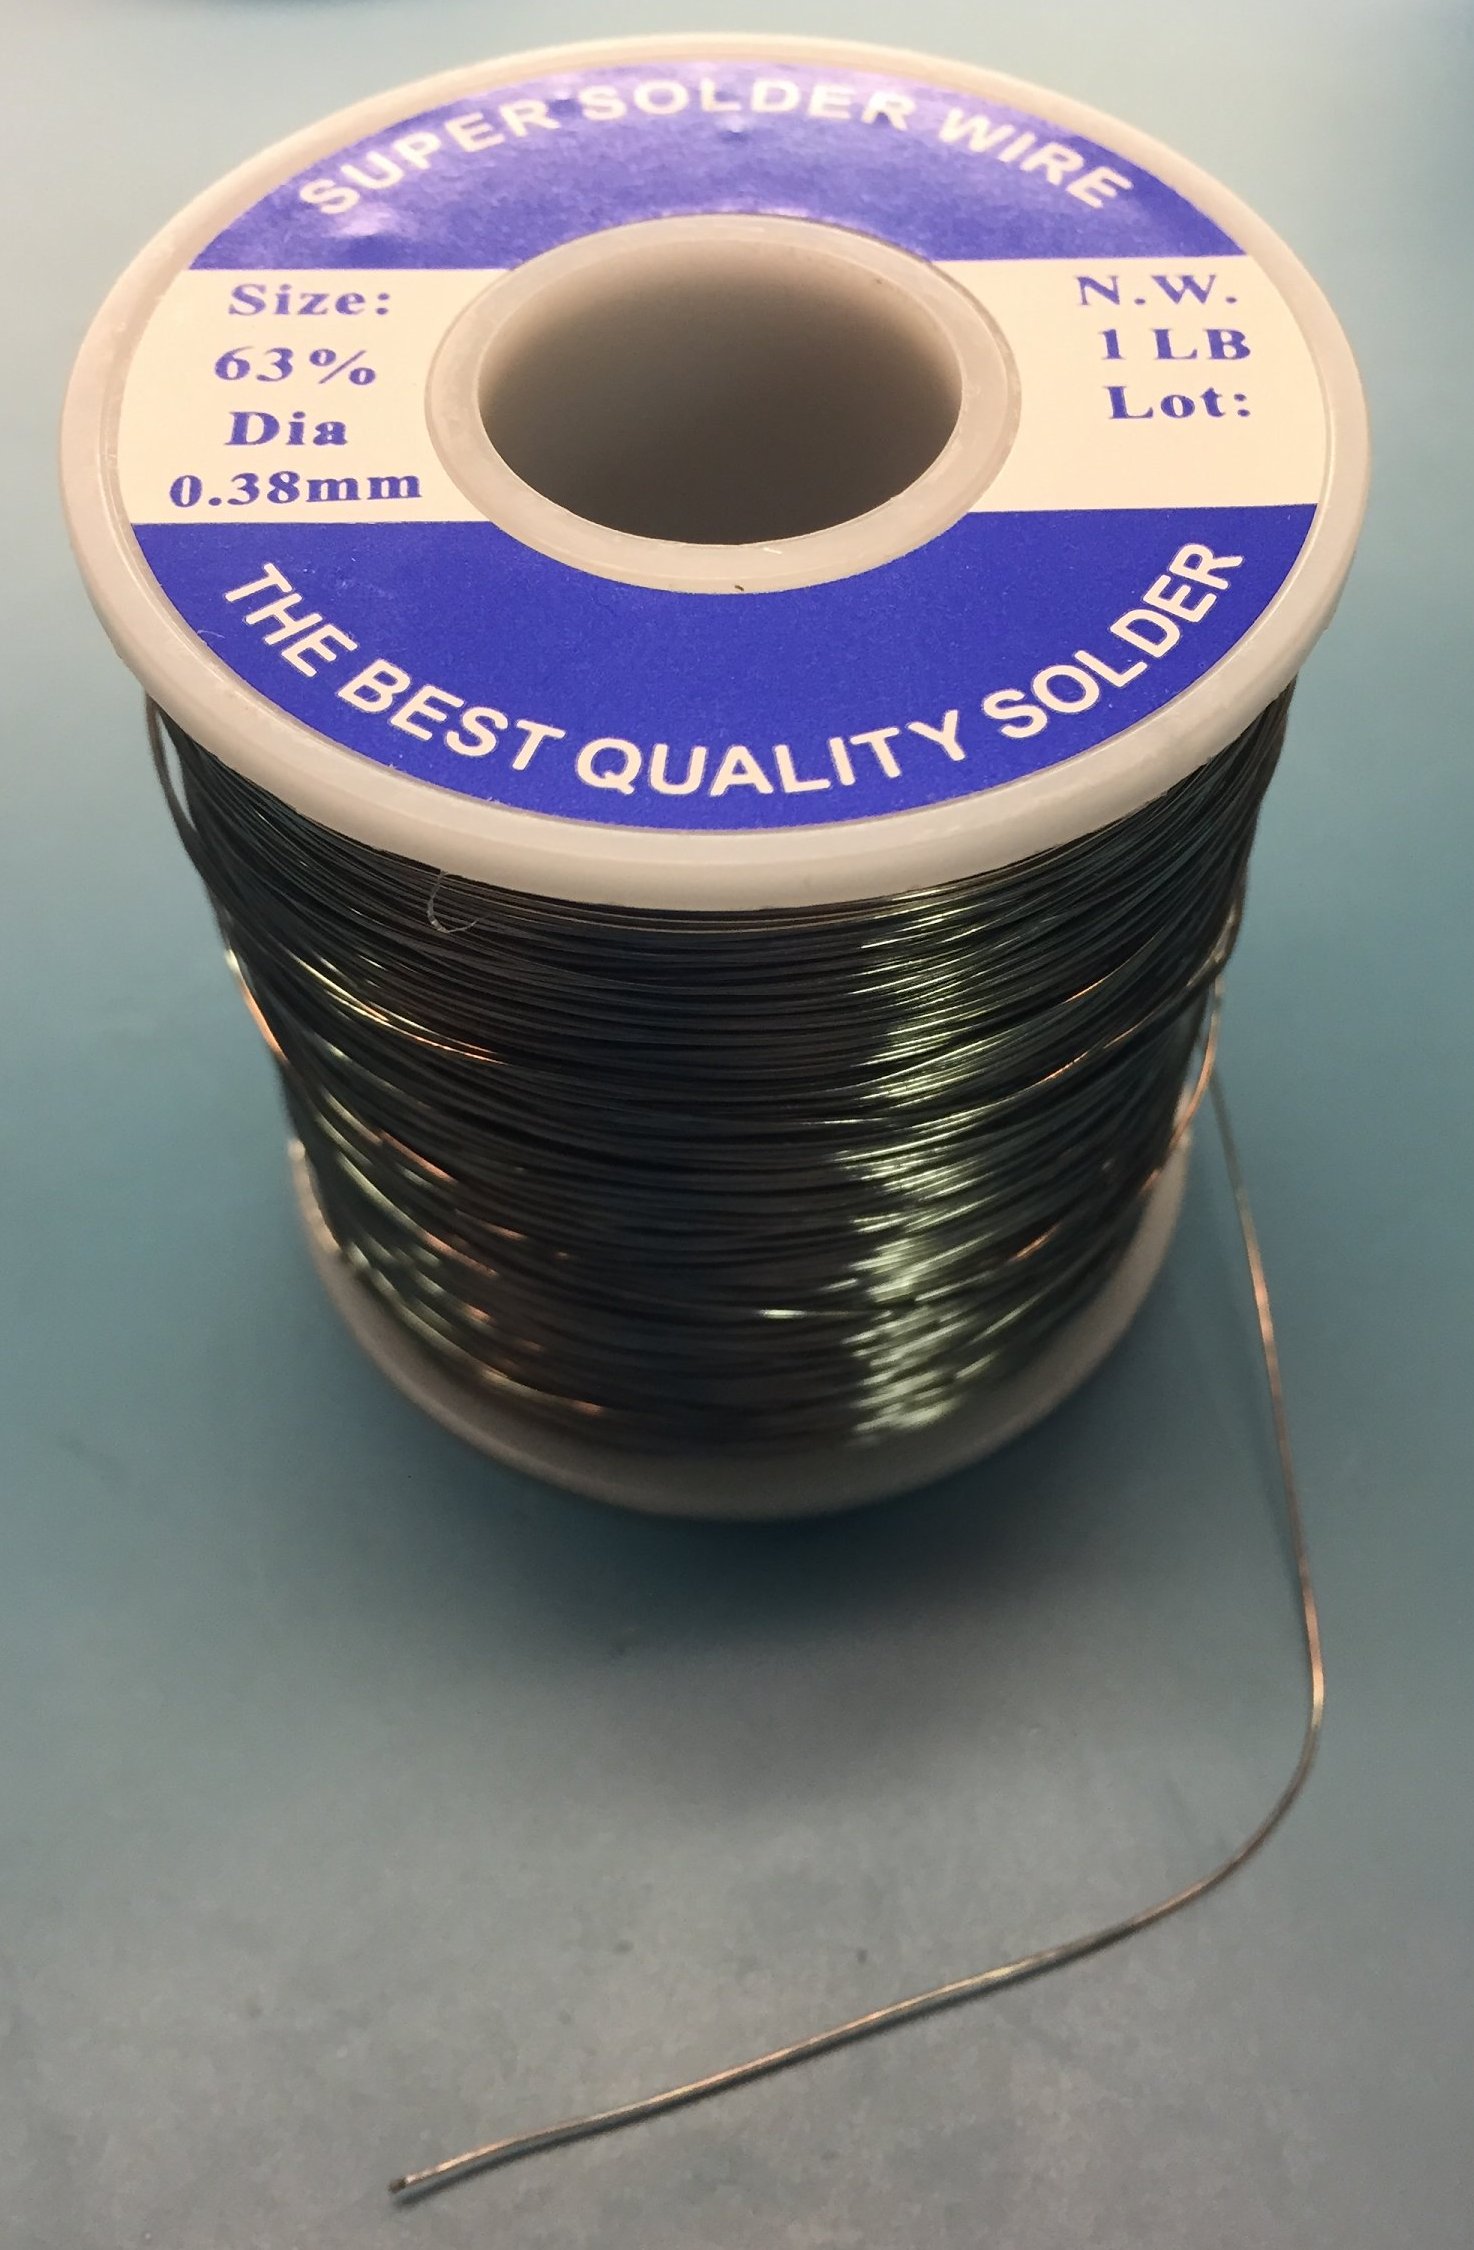
First and foremost you’ll want thin solder, the thinner the better. Thin solder allows better control over the quantity applied while soldering and greatly helps reduce solder bridges between pins. It’s a bit more expensive than it’s large diameter cousins but a spool lasts for a very long time (I’m still on my first spool after 10 years or so and haven’t even put a noticeable dent in it yet) and the extra couple of bucks is well worth the upfront investment. I actually keep several sizes on hand for different types of work but always use the smallest stuff when working with SMD parts.
Leaded solder is the way to go for hobbyists. But lead is bad, isn’t it? Lead is definitely toxic to humans and to that extent avoid breathing the fumes as much as possible and wash your hands when you’re done and you should be alright (unless you live in California where everything causes cancer in which case you may sprout an extra limb, YMMV). The truth is, the solder contains lead and tin mixed in the proper ratio to create a eutectic point that brings the working temperature down into a range that makes it easy to work with. Lead-free solder replaces the lead with a small bit of silver but requires higher temperatures to melt. This makes it more difficult to achieve good quality joints and you also risk damaging components by overheating them if you’re not careful. Long story short, lead is a toxic friend to the hobbyist - embrace it but treat it with caution.
Another trait to look for is a “rosin core”. Rosin is a type of tree sap that has some special properties when it’s heated that helps break the surface tension on the solder and allows it to flow into and around the surfaces you’re soldering. Rosin is the primary difference between plumbing solder (for copper pipe) and electrical solder. If you don’t use rosin core solder then you will need to provide flux to have any real success.
Desolder Braid/Wick
You will make mistakes, unless you’re not human I suppose. And you might was well forget about trying to use a desolder “pump” typically recommended for through-hole solder work. There just isn’t enough solder to suck up and without the hole in the PCB to pull it though there’s just no way that they help.
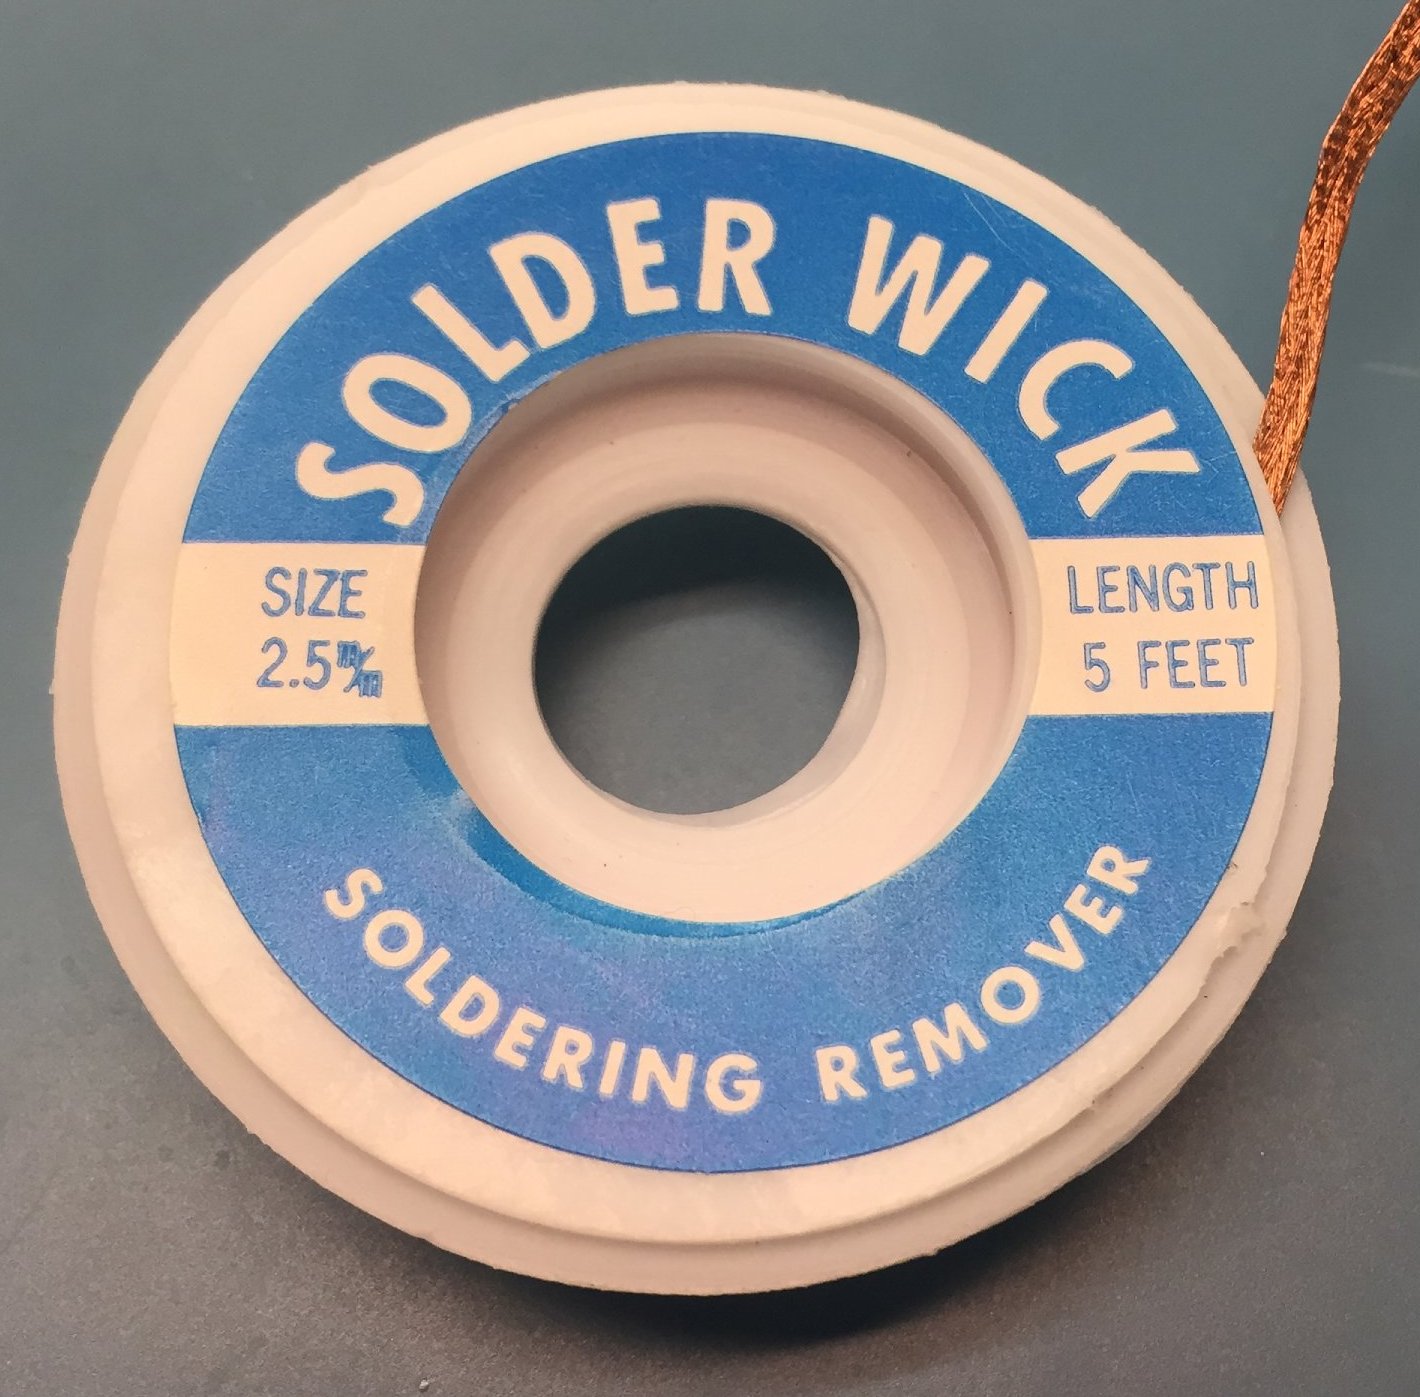
Instead, pick up a spool of desolder braid (or wick as it’s also called). This stuff is nothing more than fine, woven copper wire that will soak up solder like a sponge.
Desolder braid is good for cleaning off pads on the PCB when parts are removed for rework as well as for pulling excess solder off the pins of an IC when they are bridged together.
Pro tip: this stuff can be a bit finicky when trying to get it to soak up solder due to the braid being a bit oxidized. If you have some flux laying around you can splash a little on the end of the braid but if not just put a small dab of fresh solder on an unused portion of the braid and then move it over to your board. There’s enough rosin in the solder to get the solder on the board to flow again. You may need to repeat this a few times if you have a lot of area to cover and the braid seems to stop working on you.
Tweezers
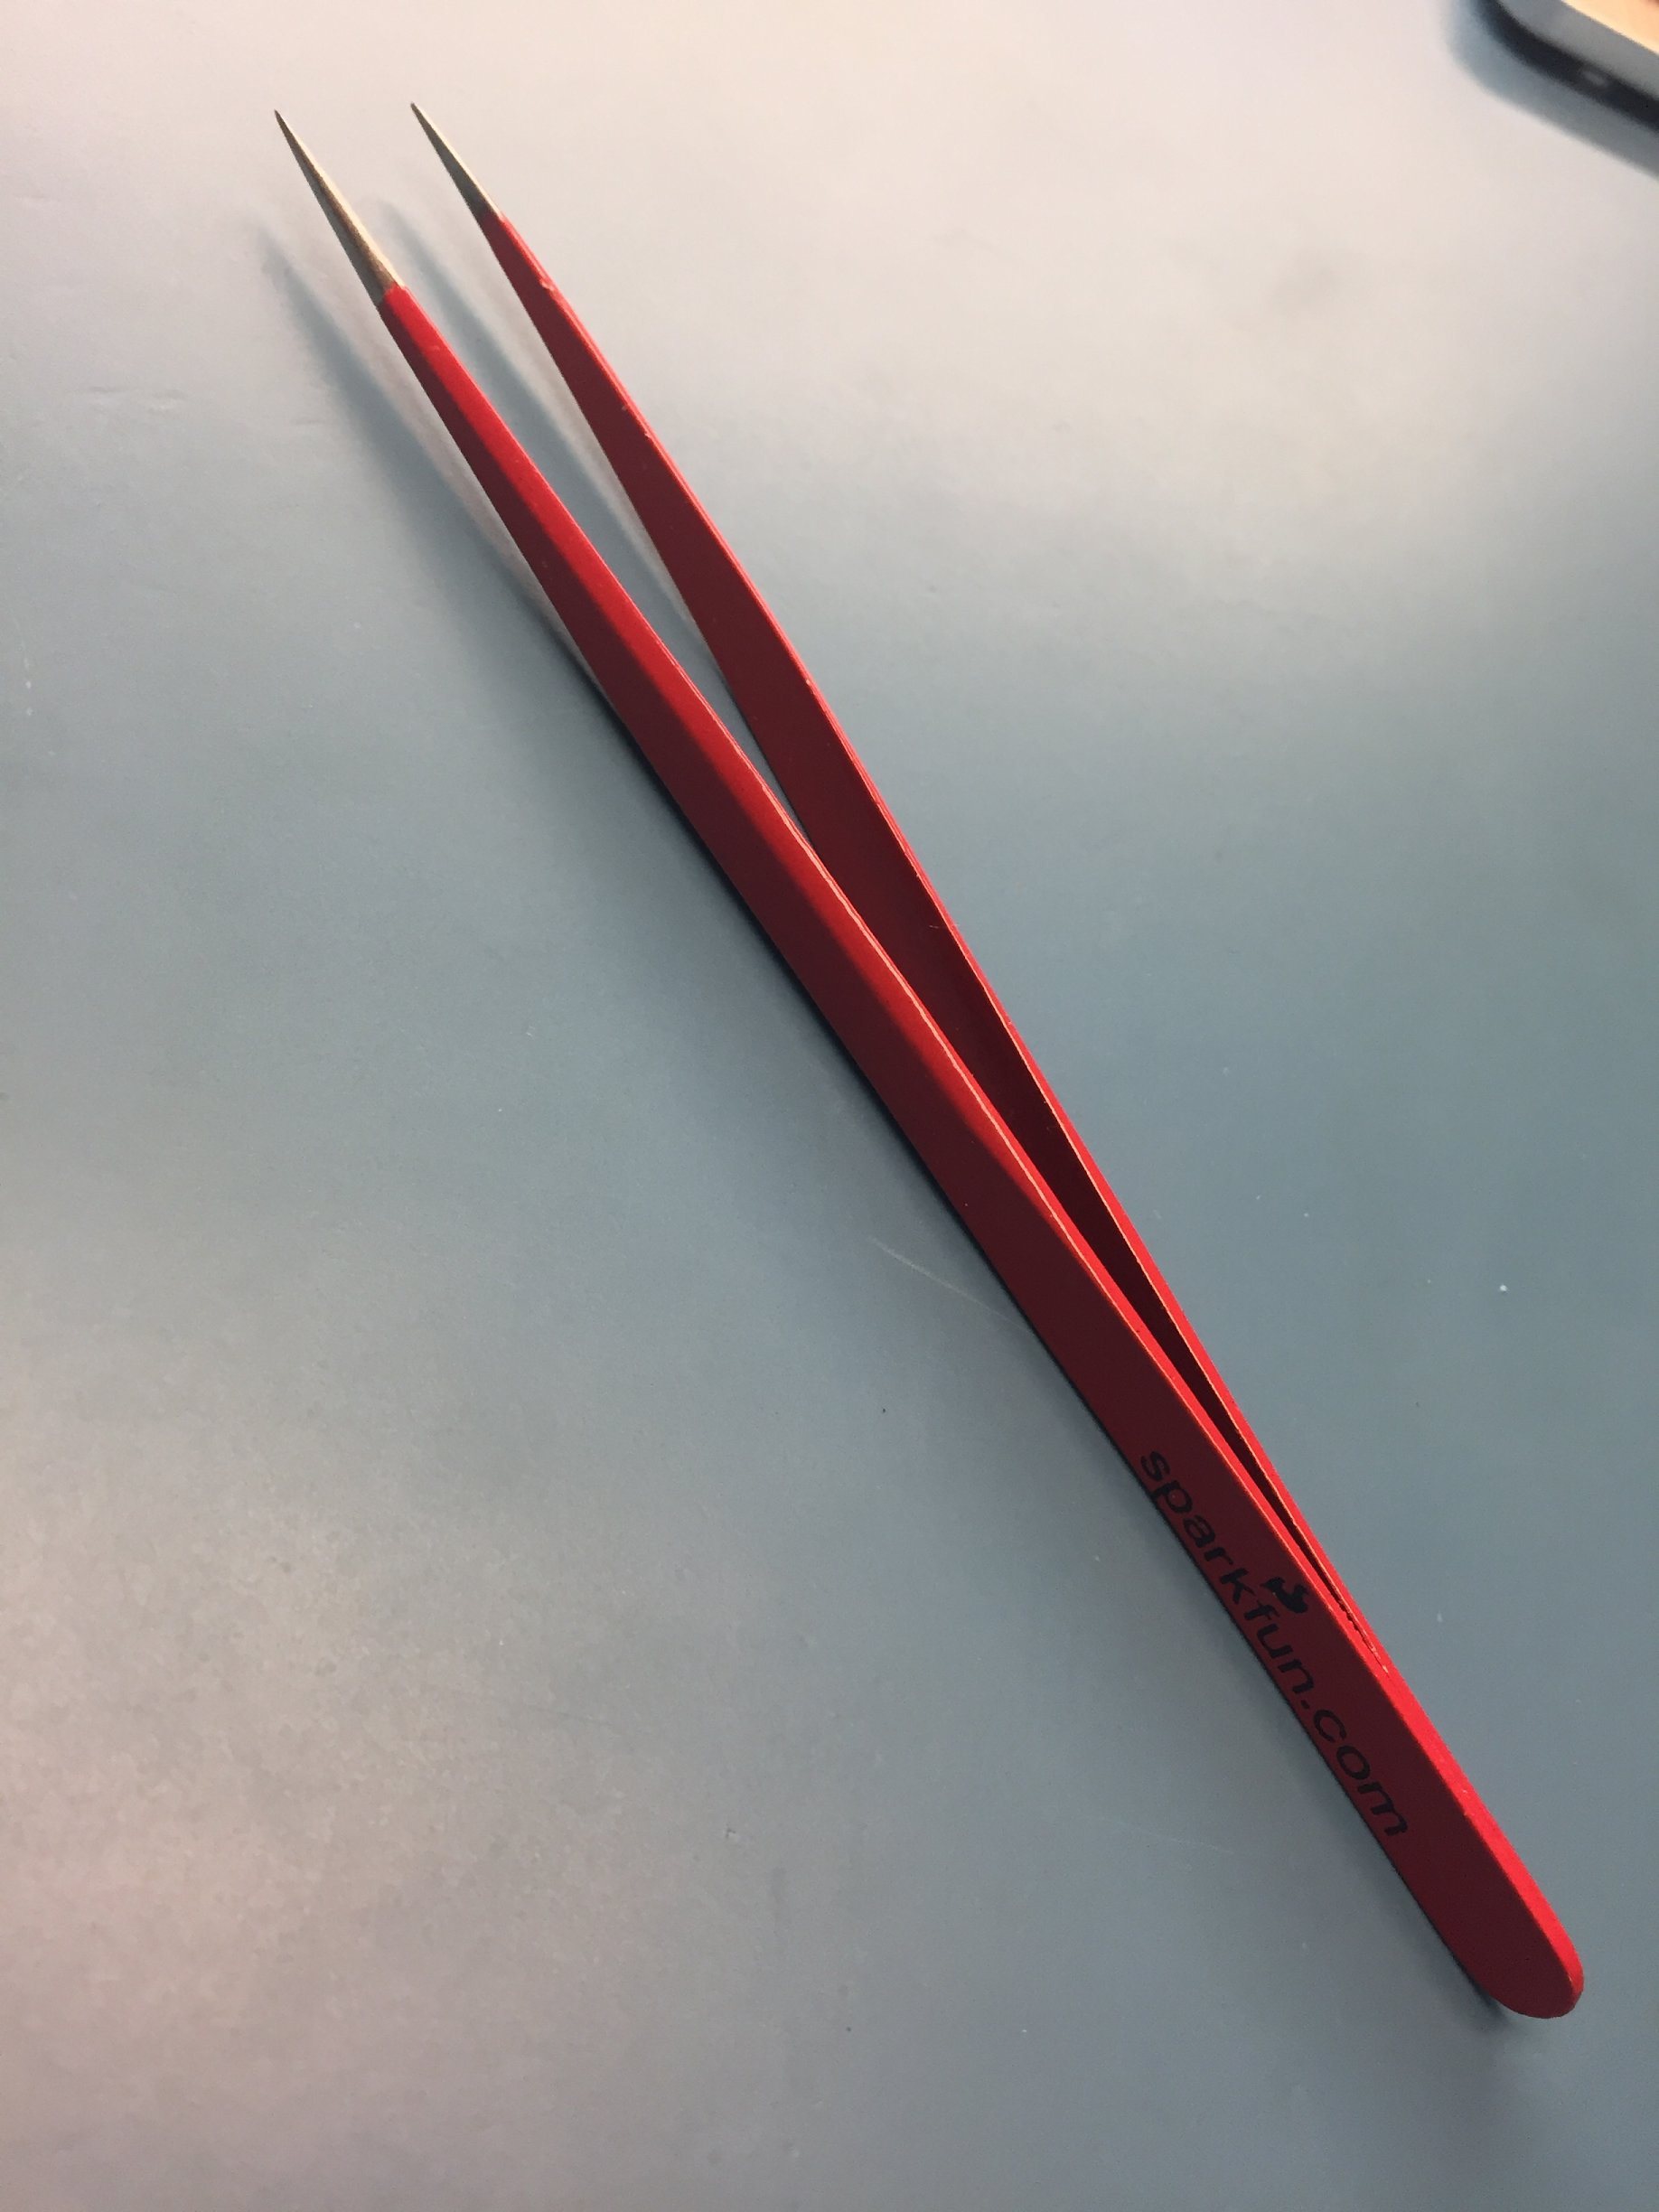
Tweezers are another necessity - you will absolutely need some kind of tweezers to be able to hold the tiny parts while soldering them to the board. Any tweezers will do, even a pair of beauty tweezers (like the kind one might use to pluck nose hairs) will work if that’s all you’ve got.
The ones pictured here came from SparkFun for a very modest price and work great. They are a bit fragile though so I recommend ordering a spare pair or two. I dropped a set of the floor once and they landed with the tips facing down. I’ve never been able to work the kinks out of the points and that makes it tricky to work with smaller parts likes 0402 passives now without launching them into oblivion.
Pro tip: apply firm but gentle pressure when working with small parts. If you squeeze them too hard they have a tendency to “pop” out of the tweezers (especially tweezers with very fine points) and disappear. Worse yet it’s generally impossible to find launched parts.
Helpful Tools
The following are my suggestions for tools that greatly help with SMD soldering but are not absolutely required when on a budget.
Board Vise
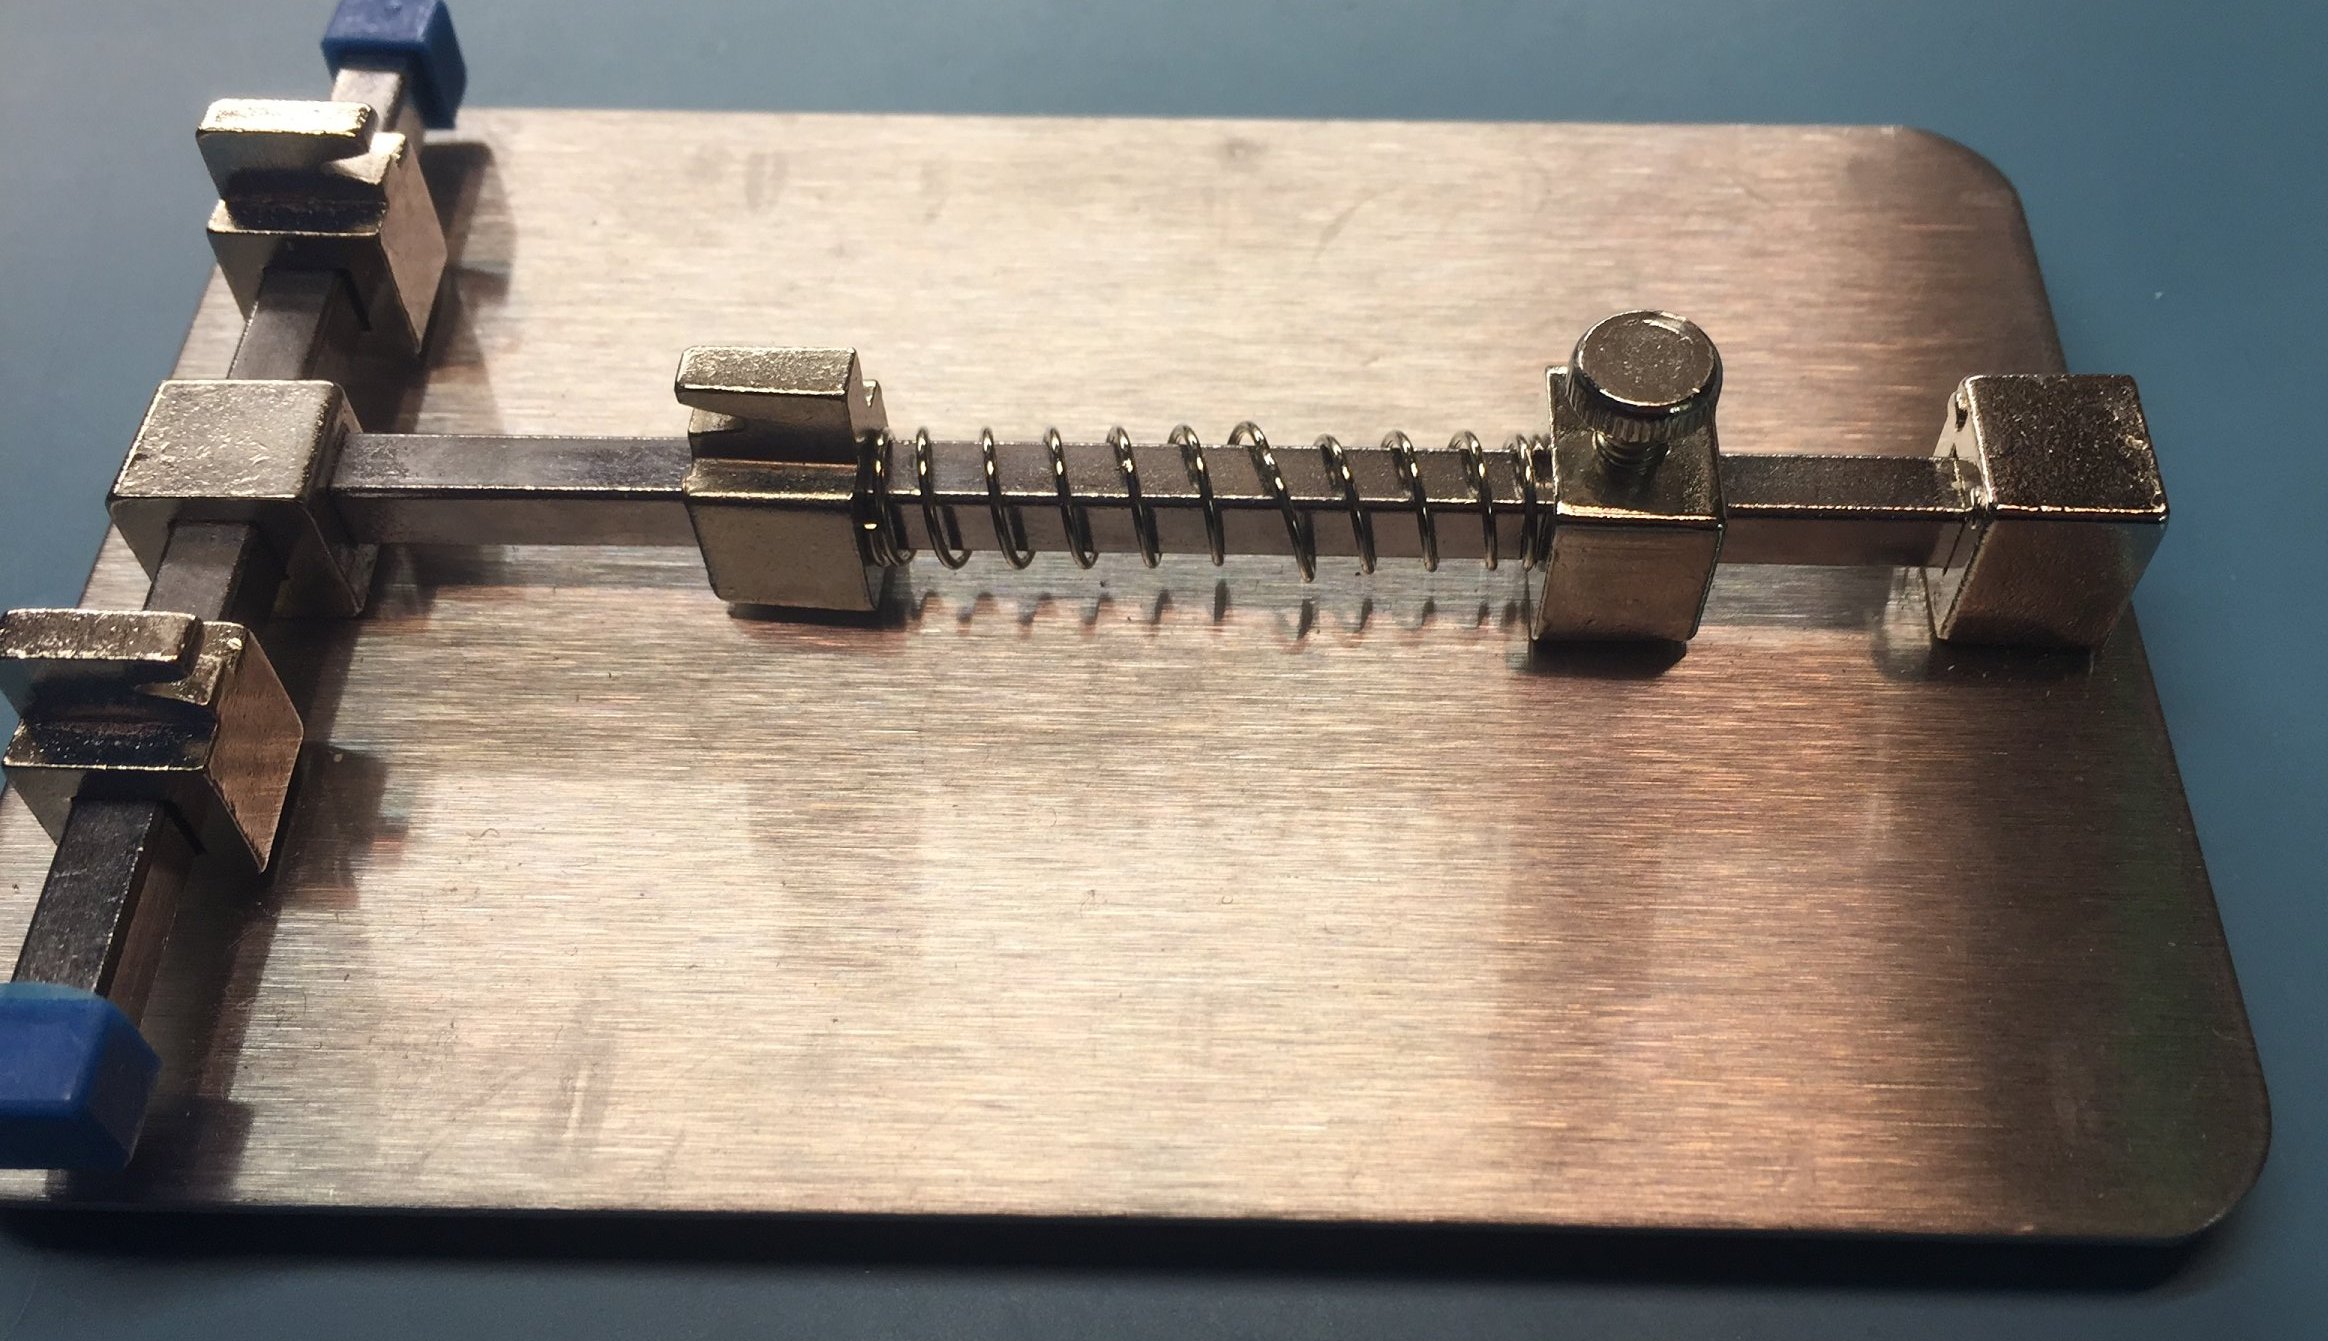
I picked this simple, inexpensive vise up on Amazon a while back and I actually find it to be more efficient than my expensive Panavise. It’s only downside is that it doesn’t open up for large boards but most of the PCBs I’m working with are small enough to fit.
The vise is handy for holding PCBs in one place while you’re poking at them with tweezers and a soldering iron. I say that it’s not absolutely required just because it’s possible to lay the board on something soft like an old towel to stop it from sliding around too and that will get the job done.
I have used a “third hand” (that thing from the dollar store with a heavy base and a couple little articulated arms with alligator clips on the end) in the past but I’ve never been too happy with it’s ability to securely hold the PCB without either moving or releasing it from the grip of the alligator clips. I almost find is to be worse than just laying the board on my bench or using the towel trick.
Flux Pen
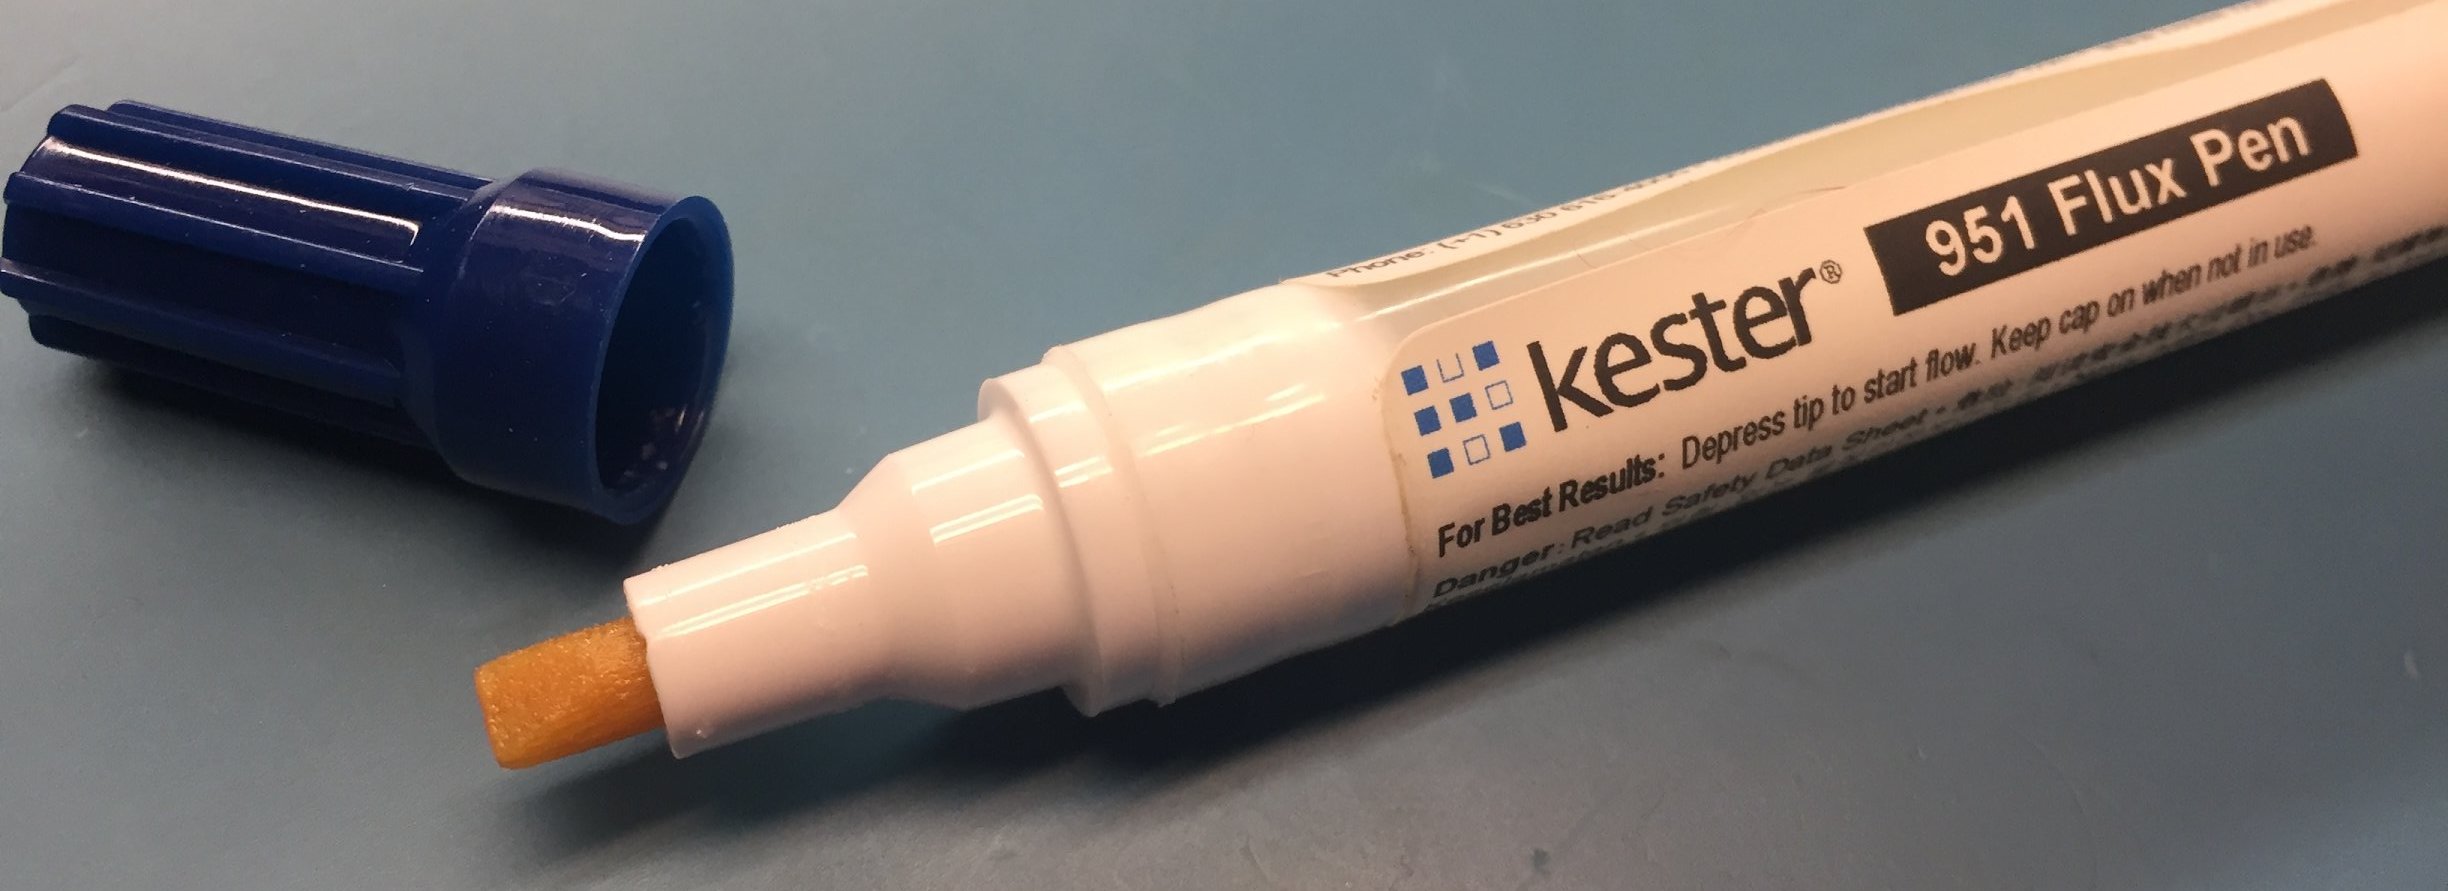
A flux pen is handy when you’re working with parts or PCBs that are badly corroded. Most of the time I don’t use mine. You should be using rosin core solder (see above) which provides it’s own flux.
When I was initially taught how to solder I was told to slather flux all over everything, parts, board, wires, etc. have since found that it’s not really necessary and just makes a mess that needs to be cleaned up once soldering is complete.
Flux Remover
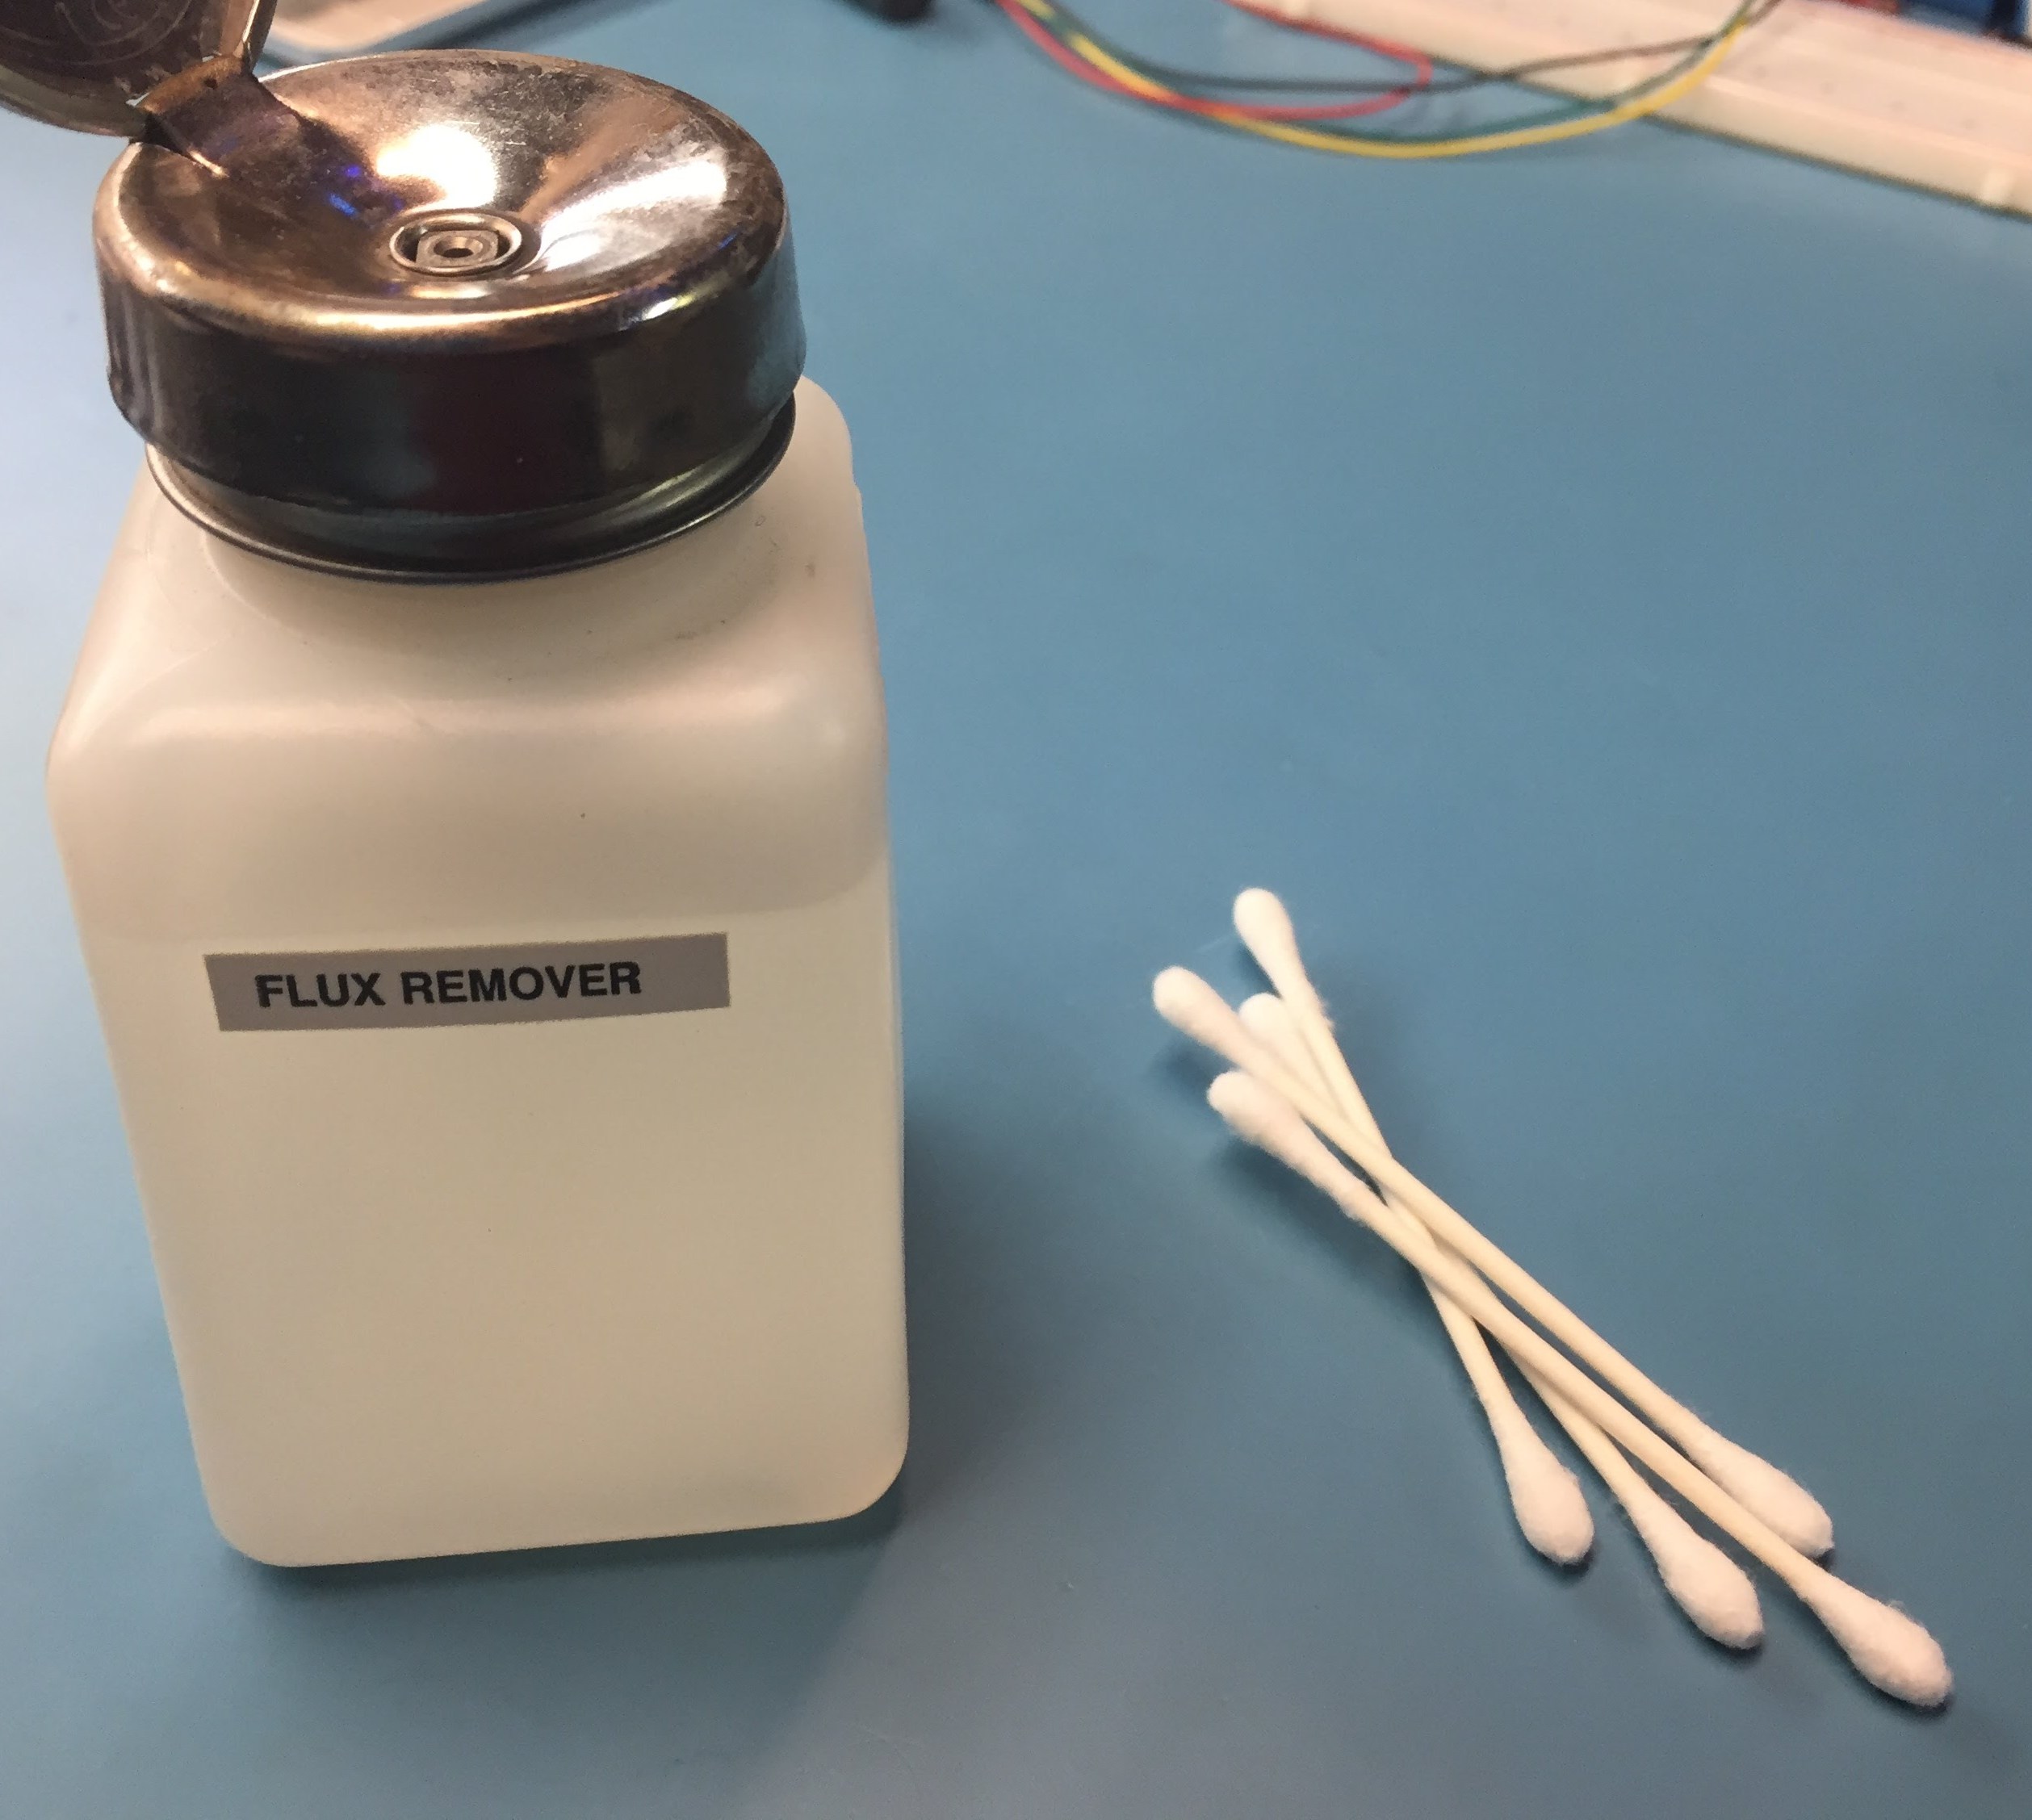
Flux remover is used to (obviously) remove flux and rosin residue left on the board after you’re done. There are several (expensive) commercial products out there than generally come in aerosol cans. I have used them and they work well but I’m cheap so I tend not to buy them any more.
I have found that they “best” flux remover is denatured alcohol. This can be picked up from you’re local hardware or big-box store by the quart for cheap. It’s a mild solvent and works well for breaking up flux residue using Q-tips and a bit of scrubbing.
Truthfully, “denatured alcohol” is nothing more than ethanol (the same stuff we adults sometimes drink) that has been cut with something that makes it inedible so that the state cannot tax it. So feel free to bust out the bottle of vodka instead. I haven’t tried that but I’m sure that it would work. The only issue might be that liquor is watered down a bit so it may not work quite as effectively.
Common Pitfalls
Before moving on to the techniques I would like to offer up some tip and point out some mistakes that I think are common to newcomers.
Be careful with your tips
When I was taught how to solder back in high school we were using inexpensive and cheap (yes, those are two different things, neither of which are good attributes for soldering equipment) irons (mostly because high school students generally have no respect for anything and amuse themselves by destroying them). The first thing they showed us was how to sand down the tip of the iron and “tin” it.
Having upgraded to a quality iron at home now I can say that this procedure is futile. The tips come pre-tinned and there is no reason you should ever need to file down the protective coating provided by the manufacturer. If you do, the tip will quickly oxidize and make all future soldering endeavors nearly impossible as you won’t get the heat transfer that you need for a quality joint.
A damp sponge is ideal for cleaning solder blobs off the tip of your iron and some brass wool is the most abrasive material you should ever use to clean tough to remove deposits from your iron.
Less is more
Don’t over do it with your solder. Use only the minimal amount necessary to get a solid connection between the board and the part and remove any excess. Too much solder is likely to cause bridging between pins and frankly it’s just plan ugly to see blobs all over a pretty PCB. You should target concave connections around each joint rather than bulbous, convex ones.
As mentioned earlier, the same philosophy applies for flux. A little dab of flux can help solder flow into difficult spaces but too much will make a mess that is hard to remove. Flux also poses another problem in that it can conduct electricity and it’s very frustrating when you just finished up an hour long soldering project and when power your device you see the magic blue smoke being released. Further, some fluxes are corrosive and cannot be left on the board when you’re finished without risking eventual corrosion of the parts and the board.
Work Slowly
This is especially true when working with tiny passive parts. Work in batches, pulling out parts of a single value at a time and only as many as you need for the task at hand. The problem with tiny parts is that even if they are labeled, the text is generally too small for even a good pair of eyes to properly read. Also, if you happen to launch one out of your tweezers or knock one off the bench then the odds are it’s gone for good. Searching for a part the size of a grain of sand on a dirty floor is arguably more difficult than finding the needle in the haystack (at least you get positive confirmation when the needle pierces your skin that you have found it).
Techniques
Passives
These are the easiest devices to work with. I use the term “passive” but really the technique described in this section works with any device that has only two connections to the circuit. Just make sure to properly orient directional devices such as diodes/LEDs and polarized capacitors.
I start by putting a dab of solder on one of the two pads on the PCB. Then I like up the part in my tweezers holding my soldering iron in my dominant hand and the tweezers in the other. I will hold the part square to the pads over the spot where it is to be mounted and touch the tip of the iron to both the pad one the board and the part, guiding it down to the PCB with the tweezers as the solder melts. Next, remove the iron and allow the solder to cool and solidify before releasing the tweezers.
Now is the opportunity, with only one side tacked town to re-heat the solder and adjust the position of the part if necessary. The board will always look better if the parts are centered and square relative to the PCB. Just be careful to not hold the iron in position for too long or the heat can possibly damage the part or the PCB. It’s often best to allow a few seconds for heat to dissipate between attempts (work slowly, see above).
Finally, come back with the solder and tack the other side of the part to the other pad.
Integrated Circuits (ICs)
The term IC is very broad and so are the SMD package types available. The techniques described below will work for any type of SOIC, TQFP or even QFN device. SOIC devices are very easy to solder because the spacing between pins is generally large enough that solder bridges are not a concern. TQFP parts very in terms of pin width and pitch and can sometimes be a hassle. QFN parts are the trickiest because they have no “legs” protruding from the package but with a little patience and care they too can be soldered by hand using these general guidelines.
Start by putting a dab of solder on one of the pads. It’s generally best to start in a corner or on an end. Use the tweezers to hold the part in place and use the same technique as with passive components above to tack the part down and align the pins.
Before proceeding to a second pin double and triple check that all of the pins line up with their pads and do not contact the neighboring pads. This is very important as if there is any overlap they will inevitably cause solder bridges and the circuit likely will malfunction possibly causing damage to the device. Take as much time as needed to get the device perfectly square and each pin aligned exactly with each pad.
Finally, move on to the other pins and apply solder to each. Use just enough to make a connection and avoid excess which will lead to bridges. I find it best to pull the iron out and away from the center of the chip after each pin to avoid dragging the liquid solder over to an adjacent pin before the surface tension with the tip breaks.
Closing
There are many great tutorials and even some videos across the web detailing everything that I just talked about. This post was intended more as an overview of the tools and techniques that I use to assemble boards. By no means is the information here gospel. If you have any thoughts or concerns I would love to hear them, please leave a comment below.